Turning on a MacBook is a straightforward process, yet it can be daunting for new users or those unfamiliar with Apple’s ecosystem. The MacBook, known for its sleek design and user-friendly interface, is a powerful tool for both personal and professional use. Whether you are a student, a creative professional, or someone who simply enjoys browsing the internet, understanding how to properly power on your device is the first step toward harnessing its capabilities.
This article will guide you through the essential steps to turn on your MacBook, ensuring that you can start using it efficiently and effectively. The process of powering on your MacBook involves several key steps that may vary slightly depending on the model you own. From checking the battery level to logging in and accessing your desktop, each step is crucial for a smooth startup experience.
By familiarizing yourself with these procedures, you can avoid common pitfalls and ensure that your MacBook is ready for use whenever you need it. This guide will also address troubleshooting tips for any issues that may arise during the startup process, providing you with a comprehensive understanding of how to get your MacBook up and running.
Key Takeaways
- Turning on your MacBook is as simple as pressing the power button
- Check the battery level by clicking on the battery icon in the menu bar
- Connect the power adapter to charge your MacBook when the battery is low
- Press the power button to turn on your MacBook
- Log in to your MacBook using your username and password
Checking the Battery Level
Before attempting to power on your MacBook, it is essential to check the battery level. A fully charged battery ensures that your device will start without any interruptions. To check the battery status, look for the battery icon located in the upper right corner of the screen if your MacBook is already on.
If your device is off, however, you can still assess the battery level by pressing the power button briefly. If the keyboard backlight illuminates or if you hear a sound indicating that the device is attempting to power on, this suggests that there is some charge left in the battery. If you find that your MacBook’s battery is low or completely drained, it is advisable to connect it to a power source before proceeding.
A low battery can lead to unexpected shutdowns or failure to boot up entirely. Understanding how to interpret the battery indicator can save you time and frustration. For instance, a green light on the MagSafe connector indicates that your MacBook is charging, while an amber light signifies that it is still charging but not yet fully powered.
This knowledge allows you to make informed decisions about when to power on your device.
Connecting the Power Adapter
Once you have assessed the battery level and determined that your MacBook requires charging, the next step is to connect the power adapter. The power adapter is an essential accessory that provides the necessary energy for your device to function optimally. To connect it, locate the MagSafe or USB-C port on your MacBook, depending on the model you own.
Align the connector with the port and gently push it in until you feel a secure fit. The magnetic connection of MagSafe adapters makes this process particularly easy, as they snap into place effortlessly. After connecting the power adapter, it is important to observe any indicators that confirm your MacBook is receiving power.
For models equipped with a MagSafe connector, look for an LED light on the connector itself; a green light indicates a full charge, while an amber light shows that charging is in progress. If you are using a USB-C adapter, check for any visual cues on your screen or keyboard backlight that suggest power is being supplied. Ensuring that your MacBook is properly connected to a power source not only facilitates a successful startup but also prolongs the overall lifespan of your device by preventing battery-related issues.
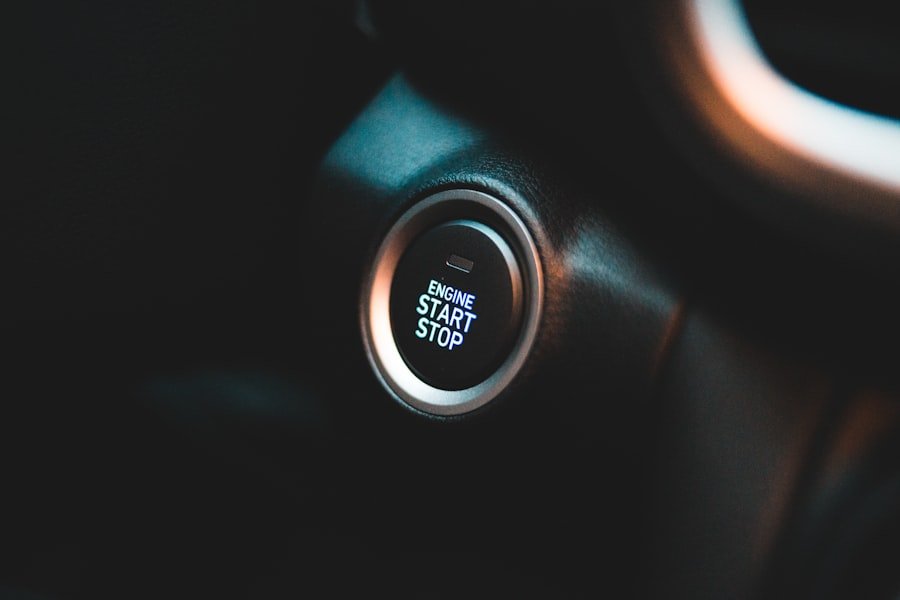
Pressing the Power Button
| Device | Power Button Location | Function |
|---|---|---|
| Smartphone | Usually on the side or top | Turn on/off the device, take screenshots |
| Laptop | Located on the keyboard or side | Turn on/off the device, put to sleep, wake from sleep |
| Desktop Computer | Usually on the front panel | Turn on/off the device, force shutdown if held |
With your MacBook connected to a power source and ready to go, it’s time to press the power button. The location of the power button varies depending on the model; in newer MacBooks, it is integrated into the Touch ID sensor located at the top right corner of the keyboard. In older models, it may be a standalone button located above the keyboard or on the side of the device.
Regardless of its location, pressing this button initiates the startup sequence. When you press the power button, you may notice various sounds and visual cues indicating that your MacBook is powering on. The startup chime—a distinctive sound that has become synonymous with Apple products—may play if your device’s sound settings are enabled.
Additionally, you will see the Apple logo appear on the screen as it begins to boot up. This process can take anywhere from a few seconds to a couple of minutes, depending on your MacBook’s specifications and any updates that may need to be installed during startup.
Logging In to Your MacBook
Once your MacBook has successfully powered on, you will be greeted by the login screen. This step is crucial for accessing your personal files and applications securely. If you have set up multiple user accounts on your device, you will need to select your account from the list displayed on the screen.
Entering your password or using Touch ID (if available) will grant you access to your desktop environment. For those who are new to macOS or have recently switched from another operating system, navigating this login process may feel unfamiliar at first. However, Apple has designed this interface to be intuitive and user-friendly.
If you have forgotten your password or are having trouble logging in, there are recovery options available that can help you regain access to your account without losing any data. Familiarizing yourself with these options can provide peace of mind as you begin using your MacBook.
Setting Up Your Preferences

After successfully logging in, you may want to take some time to set up your preferences according to your personal needs and workflow. macOS offers a variety of customization options that allow users to tailor their experience. Accessing System Preferences from the Apple menu in the top left corner of your screen opens up a world of settings related to display, sound, keyboard shortcuts, and more.
For instance, if you frequently work with multiple applications open at once, adjusting Mission Control settings can enhance your productivity by allowing you to manage windows more efficiently. Additionally, customizing trackpad gestures can streamline navigation and make it easier to switch between applications or desktops. Taking advantage of these settings not only improves usability but also helps create an environment conducive to your specific tasks and preferences.
Accessing Your Desktop
With your preferences set up according to your liking, it’s time to access your desktop and begin using your MacBook for its intended purposes. The desktop serves as a central hub where you can organize files, access applications, and manage various tasks efficiently. Icons representing applications and files will be visible on this screen, allowing for quick access.
Navigating through Finder—macOS’s file management system—enables users to explore their files and folders seamlessly. You can create new folders for organization or use Spotlight Search (activated by pressing Command + Space) to quickly locate files without sifting through multiple directories. Understanding how to utilize these features effectively can significantly enhance your overall experience with macOS and ensure that you can find what you need when you need it.
Troubleshooting Common Issues
Despite its reputation for reliability, users may occasionally encounter issues when turning on their MacBooks. Familiarizing yourself with common troubleshooting steps can save time and frustration in these situations. One common issue is a failure to power on at all; if pressing the power button yields no response, ensure that the power adapter is securely connected and functioning properly.
Testing with another outlet or adapter can help identify whether the issue lies with the power source. Another frequent problem involves a slow startup process or getting stuck on the Apple logo screen. In such cases, performing a reset of the NVRAM (non-volatile random-access memory) can often resolve these issues.
To do this, restart your MacBook and hold down Command + Option + P + R immediately after pressing the power button until you hear the startup chime again. This reset clears certain settings and can help restore normal functionality. In conclusion, understanding how to turn on and navigate through your MacBook effectively enhances user experience significantly.
By following these steps—from checking battery levels and connecting power adapters to logging in and troubleshooting common issues—you can ensure that you are well-equipped to utilize this powerful device fully.
If you are looking for more tips and tricks on how to navigate your MacBook, be sure to check out this article on appssoftwares.com. They offer a variety of helpful articles and resources to help you make the most out of your Apple device. Whether you need assistance turning on your MacBook or troubleshooting any issues, appssoftwares.com has got you covered. Be sure to visit their website for more information.
FAQs
What are the different ways to turn on a MacBook?
There are a few different ways to turn on a MacBook. You can press the power button located on the top-right corner of the keyboard, or you can open the MacBook’s lid if it’s in sleep mode.
How do I turn on a MacBook that is completely turned off?
To turn on a MacBook that is completely turned off, simply press and hold the power button for a few seconds until you see the Apple logo appear on the screen.
What should I do if my MacBook doesn’t turn on?
If your MacBook doesn’t turn on, first make sure it’s connected to a power source and that the power adapter is working properly. If it still doesn’t turn on, you may need to reset the System Management Controller (SMC) or take it to an authorized service provider for further assistance.
Can I schedule my MacBook to turn on at a specific time?
Yes, you can schedule your MacBook to turn on at a specific time by using the Energy Saver settings in the System Preferences. This can be useful if you want your MacBook to be ready for you at a certain time each day.
Is there a way to turn on a MacBook remotely?
Yes, if your MacBook is connected to a power source and has Power Nap enabled, you can use the Find My app on another Apple device to remotely wake up your MacBook. This can be helpful if you need to access files or applications on your MacBook while you’re away from it.