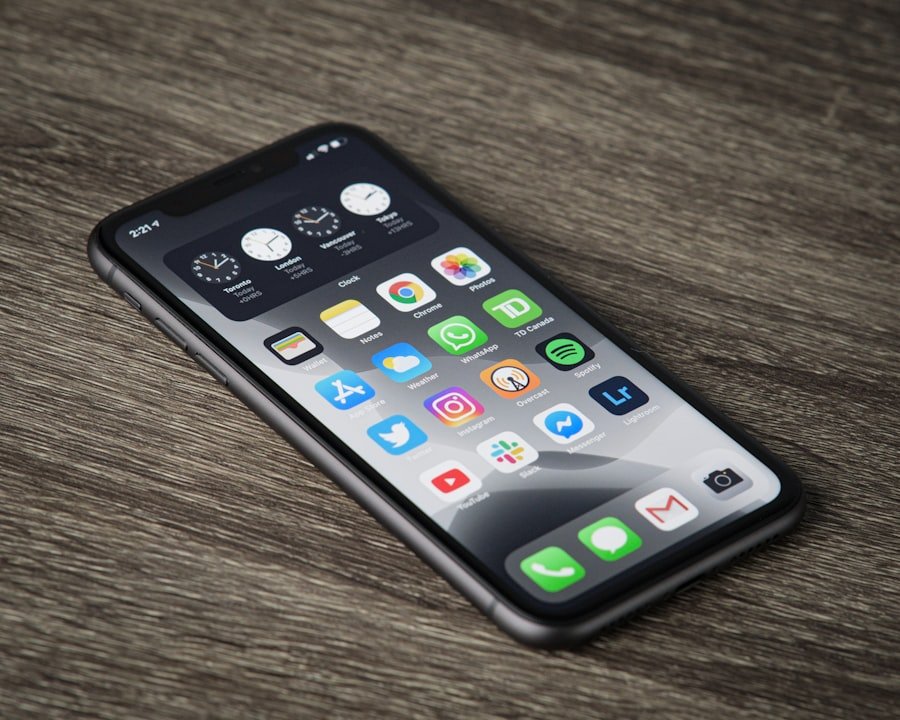
Embedded SIM, commonly referred to as eSIM, represents a significant evolution in mobile connectivity. Unlike traditional SIM cards, which are physical cards that can be inserted or removed from a device, eSIM technology is integrated directly into the device’s motherboard. This integration allows for a more streamlined design, as manufacturers can eliminate the SIM card tray, leading to thinner and more compact devices.
The eSIM is programmable, meaning that users can switch carriers or plans without needing to physically replace a card. This flexibility is particularly beneficial for frequent travelers who may want to take advantage of local carriers without the hassle of obtaining a new SIM card. The eSIM operates on the same principles as traditional SIM cards, storing essential information such as the International Mobile Subscriber Identity (IMSI) and authentication keys.
However, the eSIM can be remotely provisioned and managed, allowing users to download multiple carrier profiles onto a single device. This capability means that users can have multiple phone numbers or data plans on one device, which is especially useful for those who need to separate work and personal communications or for families sharing a single device. As mobile technology continues to advance, eSIMs are becoming increasingly prevalent in smartphones, tablets, wearables, and even IoT devices, paving the way for a more interconnected world.
Key Takeaways
- eSIM technology allows for a digital SIM card to be embedded in a device, eliminating the need for a physical SIM card.
- Backing up your eSIM data is crucial to ensure that you can easily transfer your eSIM to a new device or in case of loss or damage.
- Accessing the eSIM settings on your iPhone can be done by navigating to the “Settings” app and selecting “Cellular” followed by “Add Cellular Plan.”
- Removing the eSIM from your iPhone can be done by going to the “Settings” app, selecting “Cellular,” and choosing the eSIM plan to remove.
- Replacing the eSIM with a physical SIM card can be done by inserting the physical SIM card into the SIM card slot on your iPhone and following the on-screen instructions.
- Troubleshooting common issues with eSIM technology may include restarting your device, ensuring that your device is updated to the latest software version, and contacting your carrier for assistance if needed.
Backing up your eSIM data
Backing up your eSIM data is crucial for ensuring that you do not lose access to your mobile services in case of device loss or failure. Unlike traditional SIM cards, which can be easily swapped between devices, eSIMs require a more nuanced approach to backup and restoration. The first step in backing up your eSIM data involves understanding that the information stored on an eSIM is tied to your carrier and account rather than being physically stored on the device itself.
Therefore, it is essential to keep your carrier information handy, including your account details and any necessary activation codes. One effective method for backing up your eSIM data is to utilize your carrier’s app or website. Many carriers offer tools that allow you to manage your eSIM profiles directly from their platforms.
By logging into your account, you can often find options to view or download your eSIM profile information. Additionally, some carriers provide QR codes that can be scanned to re-activate your eSIM on a new device if needed. It is also advisable to take screenshots of any important settings or configurations related to your eSIM, such as APN settings or specific plan details, as these can be helpful if you need to troubleshoot or reconfigure your service later.
Accessing the eSIM settings on your iPhone

Accessing the eSIM settings on your iPhone is a straightforward process that allows you to manage your mobile plans effectively. To begin, navigate to the “Settings” app on your iPhone’s home screen. Once inside the Settings menu, scroll down and select “Cellular” or “Mobile Data,” depending on your region’s terminology.
Here, you will find an overview of your cellular plans, including any active eSIM profiles. If you have multiple plans set up, they will be listed here, allowing you to switch between them easily. Within the Cellular settings, you can tap on the specific eSIM plan you wish to manage.
This section provides options for renaming the plan, adjusting data usage settings, and enabling or disabling cellular data for that particular line. You can also access features such as “Data Roaming” and “Cellular Data Options,” which allow you to customize how your iPhone uses data while traveling or when connected to different networks. If you need to add a new eSIM plan or switch carriers, this is also where you would initiate that process by selecting “Add Cellular Plan” and following the prompts to scan a QR code or enter details manually.
Removing the eSIM from your iPhone
| Step | Description |
|---|---|
| Step 1 | Turn off your iPhone |
| Step 2 | Locate the SIM tray |
| Step 3 | Insert the SIM eject tool into the small hole |
| Step 4 | Gently push the tool to eject the eSIM tray |
| Step 5 | Remove the eSIM card from the tray |
Removing an eSIM from your iPhone is a necessary step if you are switching carriers or no longer need a particular mobile plan. The process is designed to be user-friendly and can be completed in just a few steps. To begin, access the “Settings” app again and navigate back to the “Cellular” or “Mobile Data” section.
Here, you will see all active cellular plans listed on your device. Select the eSIM plan you wish to remove; this will take you to a dedicated page for that specific plan. Once you are on the plan’s page, scroll down until you find the option labeled “Remove Cellular Plan.” Tapping this option will prompt a confirmation message asking if you are sure you want to remove the plan.
Confirming this action will delete the eSIM profile from your device entirely.
It is important to note that removing an eSIM does not cancel your service with the carrier; it merely disconnects it from your iPhone. If you wish to cancel your service entirely, you will need to contact your carrier directly.After removal, you may want to restart your device to ensure that all changes take effect properly.
Replacing the eSIM with a physical SIM card
Replacing an eSIM with a physical SIM card involves several steps but is generally straightforward if you follow the correct procedures. First, ensure that your iPhone is compatible with physical SIM cards; most modern iPhones support both eSIM and physical SIM configurations. To begin the replacement process, first remove the existing eSIM profile from your device by following the steps outlined previously.
Once the eSIM has been removed, it’s time to insert the physical SIM card. To insert a physical SIM card into your iPhone, locate the SIM card tray on the side of your device. Using a SIM eject tool or a paperclip, gently press into the small hole next to the tray until it pops out.
Carefully remove the tray and place your physical SIM card into it, ensuring that it is oriented correctly according to the tray’s design. Once the SIM card is securely in place, reinsert the tray back into the iPhone until it clicks into position. After inserting the physical SIM card, power on your device if it was turned off during this process.
Once your iPhone is powered on, navigate back to the “Settings” app and select “Cellular” or “Mobile Data.” You should see that your iPhone has detected the new physical SIM card and may prompt you to set it up if necessary. Follow any on-screen instructions provided by your carrier to complete the activation process. In some cases, you may need to enter an activation code or configure APN settings manually for optimal performance.
Troubleshooting common issues

Despite its advantages, users may encounter various issues when using eSIM technology on their devices. One common problem is difficulty in activating an eSIM profile after scanning a QR code provided by a carrier. If activation fails, ensure that you have a stable internet connection during the process since activation requires downloading configuration data from the carrier’s servers.
Additionally, check that the QR code has not expired; some carriers issue time-sensitive codes that may become invalid after a certain period. Another frequent issue involves switching between multiple cellular plans on an iPhone with both eSIM and physical SIM capabilities. Users may find that their device does not automatically switch between plans as expected when traveling or when one plan runs out of data.
To resolve this issue, revisit the Cellular settings and ensure that both plans are enabled and configured correctly for data usage. You can also set one plan as your default line for calls and messages while allowing data usage from another plan as needed. In some cases, users may experience connectivity issues with their eSIM profiles after removing or replacing them with physical SIM cards.
If you find that your device is not connecting to cellular networks after making changes, try resetting network settings by navigating to Settings > General > Transfer or Reset iPhone > Reset > Reset Network Settings. This action will erase all saved Wi-Fi passwords and cellular settings but can often resolve lingering connectivity issues related to recent changes in mobile plans or configurations. By understanding how eSIM technology works and how to manage it effectively on devices like iPhones, users can take full advantage of its flexibility and convenience while minimizing potential issues along the way.
If you are looking for more information on managing your eSIM on your iPhone, you may want to check out this article on privacy policy. This article may provide additional insights on how to delete eSIM from your device and ensure your privacy is protected. Additionally, you can visit
