Remote Desktop is a powerful feature integrated into Windows 11 that allows users to connect to and control another computer over a network connection. This capability is particularly beneficial for IT professionals, remote workers, and anyone who needs to access their desktop from a different location. With the rise of remote work and the increasing need for flexible working arrangements, understanding how to utilize Remote Desktop effectively has become essential.
Windows 11 enhances this functionality with a more user-friendly interface and improved performance, making it easier than ever to connect to remote machines. The Remote Desktop feature in Windows 11 enables users to access their files, applications, and settings as if they were sitting right in front of their computer. This seamless experience is made possible through the Remote Desktop Protocol (RDP), which facilitates the transmission of data between the local and remote machines.
Whether you are troubleshooting a colleague’s computer, accessing your work desktop from home, or providing tech support, Remote Desktop can significantly streamline these processes. As we delve deeper into the specifics of using Remote Desktop on Windows 11, it is crucial to understand the system requirements, configuration settings, and security measures necessary for a successful connection.
Key Takeaways
- Remote Desktop on Windows 11 allows users to access their computer from a remote location, providing convenience and flexibility.
- Before enabling Remote Desktop, users should check their system requirements to ensure compatibility and smooth operation.
- Enabling Remote Desktop on Windows 11 is a straightforward process that involves accessing system settings and turning on the feature.
- Configuring Remote Desktop settings allows users to customize their remote access experience, including display resolution and user authentication.
- Connecting to a Remote Desktop on Windows 11 can be done using the Remote Desktop app or through the Remote Desktop Connection feature.
Checking System Requirements for Remote Desktop
Before diving into the setup process, it is essential to ensure that your system meets the necessary requirements for Remote Desktop functionality. Windows 11 has specific criteria that must be satisfied for both the host (the computer being accessed) and the client (the computer initiating the connection). For the host machine, it must be running a version of Windows 11 Pro, Enterprise, or Education.
The Home edition does not support hosting Remote Desktop sessions, which can be a limitation for users who may want to access their home PC remotely. On the client side, any device running Windows 11 can connect to a Remote Desktop session, but it is also possible to connect from other operating systems such as macOS, Linux, or even mobile devices through dedicated Remote Desktop applications. Additionally, a stable internet connection is crucial for a smooth experience; ideally, both machines should be connected via high-speed internet to minimize latency and ensure responsive interaction.
Checking these requirements beforehand can save time and frustration during the setup process.
Enabling Remote Desktop on Windows 11
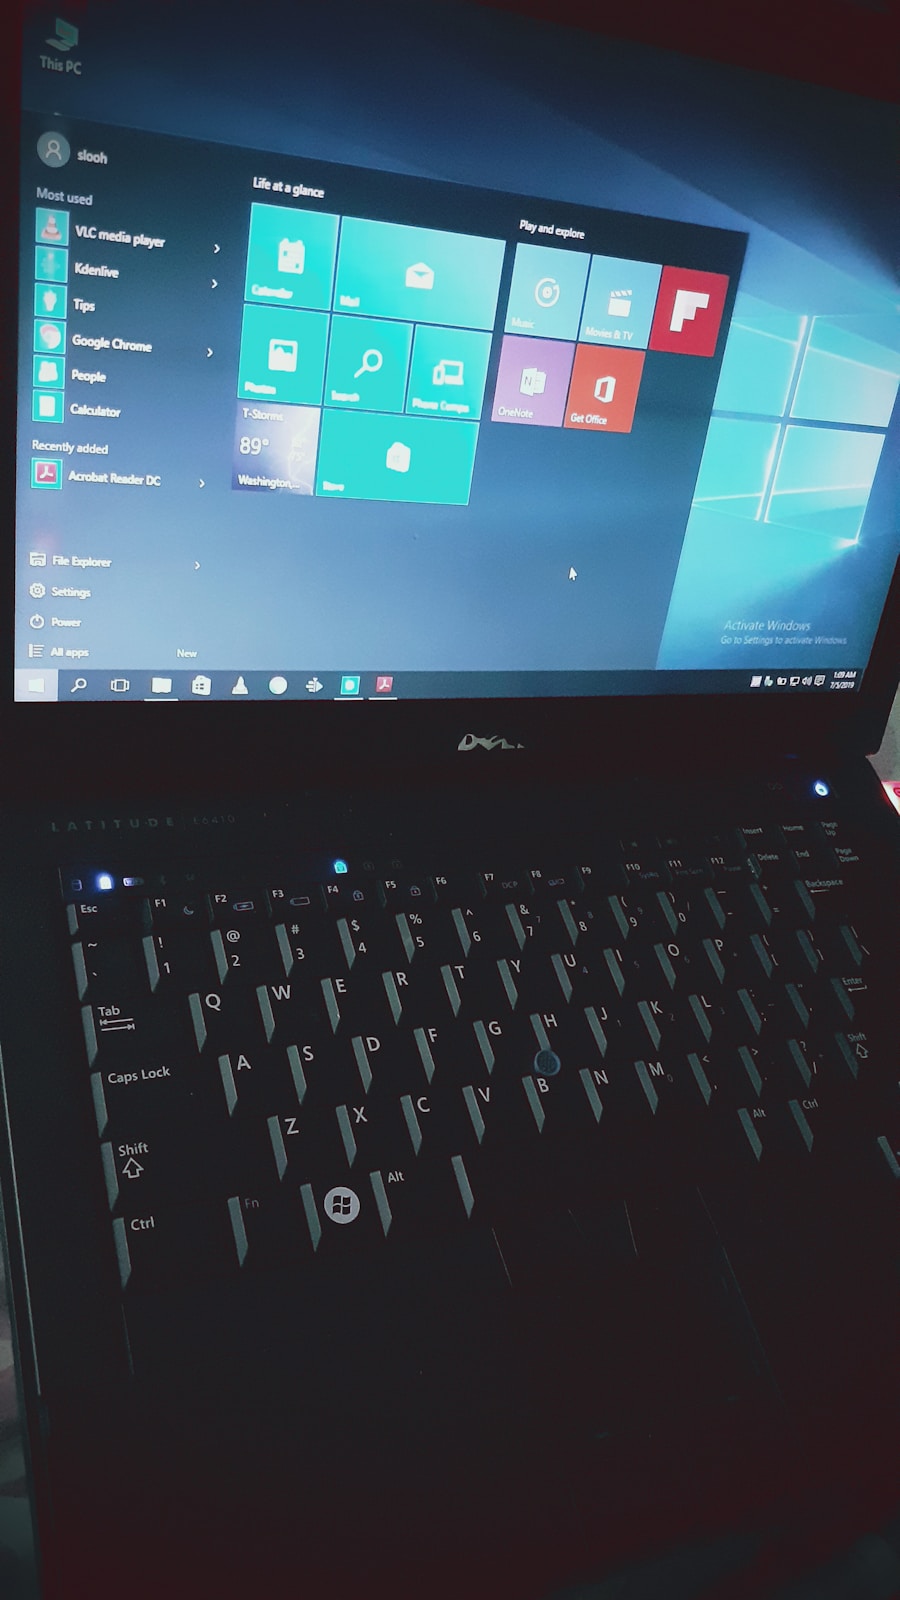
Once you have confirmed that your system meets the necessary requirements, the next step is to enable Remote Desktop on your host machine. This process begins by navigating to the Settings app. You can do this by clicking on the Start menu and selecting the gear icon or by pressing Windows + I on your keyboard.
Configuring Remote Desktop Settings
| Setting | Description | Options |
|---|---|---|
| Remote Desktop Protocol (RDP) | Protocol used for remote desktop connections | RDP 7.0, RDP 8.0, RDP 10.0 |
| Network Level Authentication (NLA) | Security feature that requires authentication before a connection is established | Enabled, Disabled |
| Remote Desktop Gateway | Allows remote users to connect to internal network resources | Enabled, Disabled |
| Remote Desktop Licensing | Manages licenses for remote desktop connections | Per Device, Per User |
After enabling Remote Desktop, further configuration may be necessary to optimize your experience and ensure secure connections. One of the first settings to consider is user permissions. By default, only administrators have access to Remote Desktop sessions.
If you want other users to connect remotely, you must add them to the list of allowed users. This can be done by clicking on “Select users that can remotely access this PC” within the Remote Desktop settings menu. Here, you can add specific user accounts that will have permission to connect.
Another important aspect of configuration involves setting up your network environment correctly. If you are connecting over a local network, ensure that both devices are on the same subnet for easier access. For connections over the internet, you may need to configure port forwarding on your router to direct traffic to your host machine.
The default port for RDP is 3389; thus, you will need to forward this port to the internal IP address of your host computer. Additionally, consider using a dynamic DNS service if your public IP address changes frequently; this will allow you to connect without needing to remember changing IP addresses.
Connecting to a Remote Desktop on Windows 11
With Remote Desktop enabled and configured on your host machine, you can now initiate a connection from your client device. To do this on a Windows 11 machine, open the Start menu and type “Remote Desktop Connection” into the search bar. Click on the application that appears in the search results.
In the Remote Desktop Connection window, enter the IP address or hostname of the computer you wish to connect to in the “Computer” field. Before clicking “Connect,” you may want to adjust some settings by clicking on “Show Options.” Here, you can specify additional parameters such as display settings and local resources like printers or clipboard sharing that you want available during your remote session. Once you have configured these options to your liking, click “Connect.” You will be prompted to enter your credentials—typically your username and password for the host machine—before gaining access.
Upon successful authentication, you will see your remote desktop environment appear in a window on your client device.
Troubleshooting Common Remote Desktop Issues
Despite its robust functionality, users may encounter various issues when using Remote Desktop on Windows 11. One common problem is connectivity issues stemming from network configurations or firewall settings. If you are unable to connect, first check that both devices are powered on and connected to the internet.
Ensure that the host machine is not in sleep mode or turned off entirely. Additionally, verify that any firewalls or antivirus software are not blocking RDP traffic; you may need to create exceptions for port 3389 in these security applications. Another frequent issue arises from incorrect user credentials or permissions.
If you receive an error message indicating that access is denied, double-check that you are using the correct username and password for the host machine. Also, confirm that your user account has been granted permission for remote access as previously discussed in the configuration section. If problems persist, consider restarting both machines or resetting network devices like routers and modems to refresh connections.
Security Considerations for Remote Desktop Access
When utilizing Remote Desktop, security should always be a top priority due to potential vulnerabilities associated with remote connections. One of the most effective ways to enhance security is by using strong passwords for all user accounts that have remote access privileges. Passwords should be complex and unique, combining letters, numbers, and special characters to reduce the risk of unauthorized access.
Additionally, enabling Network Level Authentication (NLA) provides an extra layer of security by requiring users to authenticate before establishing a session with the host machine. It is also advisable to limit remote access only to trusted networks whenever possible; using a Virtual Private Network (VPN) can further secure connections by encrypting data transmitted over public networks. Regularly updating your operating system and applications ensures that any known vulnerabilities are patched promptly, reducing exposure to potential threats.
Conclusion and Additional Resources
As remote work continues to gain traction in various industries, mastering tools like Remote Desktop on Windows 11 becomes increasingly important for productivity and efficiency. By understanding how to enable and configure this feature effectively while also considering security implications, users can leverage Remote Desktop for seamless access to their work environments from virtually anywhere. For those looking for additional resources or support regarding Remote Desktop on Windows 11, Microsoft’s official documentation provides comprehensive guides and troubleshooting tips tailored specifically for this operating system.
Online forums and communities can also be valuable resources where users share experiences and solutions related to common issues encountered with Remote Desktop connections. Engaging with these platforms can enhance your understanding and proficiency in utilizing this powerful tool effectively in your daily tasks.
If you are looking to enable remote desktop on Windows 11, you may also be interested in learning more about privacy policies related to software applications. Understanding how your data is being collected and used is crucial in today’s digital age. You can read more about privacy policies and how they impact your online experience here.
FAQs
What is Remote Desktop in Windows 11?
Remote Desktop in Windows 11 allows you to connect to and control your computer from a remote location. This can be useful for accessing files, programs, and resources on your computer from another device.
How do I enable Remote Desktop in Windows 11?
To enable Remote Desktop in Windows 11, go to Settings > System > Remote Desktop, and toggle the switch to “On” under “Enable Remote Desktop.”
What are the requirements for using Remote Desktop in Windows 11?
To use Remote Desktop in Windows 11, you need to have Windows 11 Pro or Enterprise edition. Additionally, the computer you want to connect to must be turned on and connected to the internet.
Can I use Remote Desktop to connect to my Windows 11 computer from a different operating system?
Yes, you can use Remote Desktop to connect to your Windows 11 computer from a different operating system, such as macOS or Linux, by using a Remote Desktop client application.
Is it safe to enable Remote Desktop in Windows 11?
Enabling Remote Desktop in Windows 11 can be safe if you take necessary security precautions, such as using strong passwords, enabling network-level authentication, and keeping your system and Remote Desktop client up to date with the latest security patches.