In an age where smartphones have become the primary device for capturing memories, transferring photos from an Android device to a computer is a common task that many users face. Whether it’s to free up space on the phone, create backups, or simply to edit and organize images on a larger screen, understanding the various methods available for this transfer is essential. The process can seem daunting at first, especially for those who are not tech-savvy, but with the right guidance, it can be straightforward and efficient.
The need to transfer photos arises from various scenarios. For instance, a user may want to compile a digital album, share images with friends and family, or even prepare files for professional use. Each method of transferring photos has its own advantages and disadvantages, and the choice often depends on the user’s preferences, the volume of photos to be transferred, and the available resources.
This article will explore several effective methods for transferring photos from an Android device to a computer, ensuring that users can choose the best option for their needs.
Key Takeaways
- Transferring photos from Android to computer is essential for backup and organization.
- Using a USB cable is a simple and direct method for transferring photos.
- Cloud storage services offer convenient and accessible options for transferring photos.
- Email can be used for transferring a small number of photos quickly and easily.
- File transfer apps provide a wireless and efficient way to transfer photos from Android to computer.
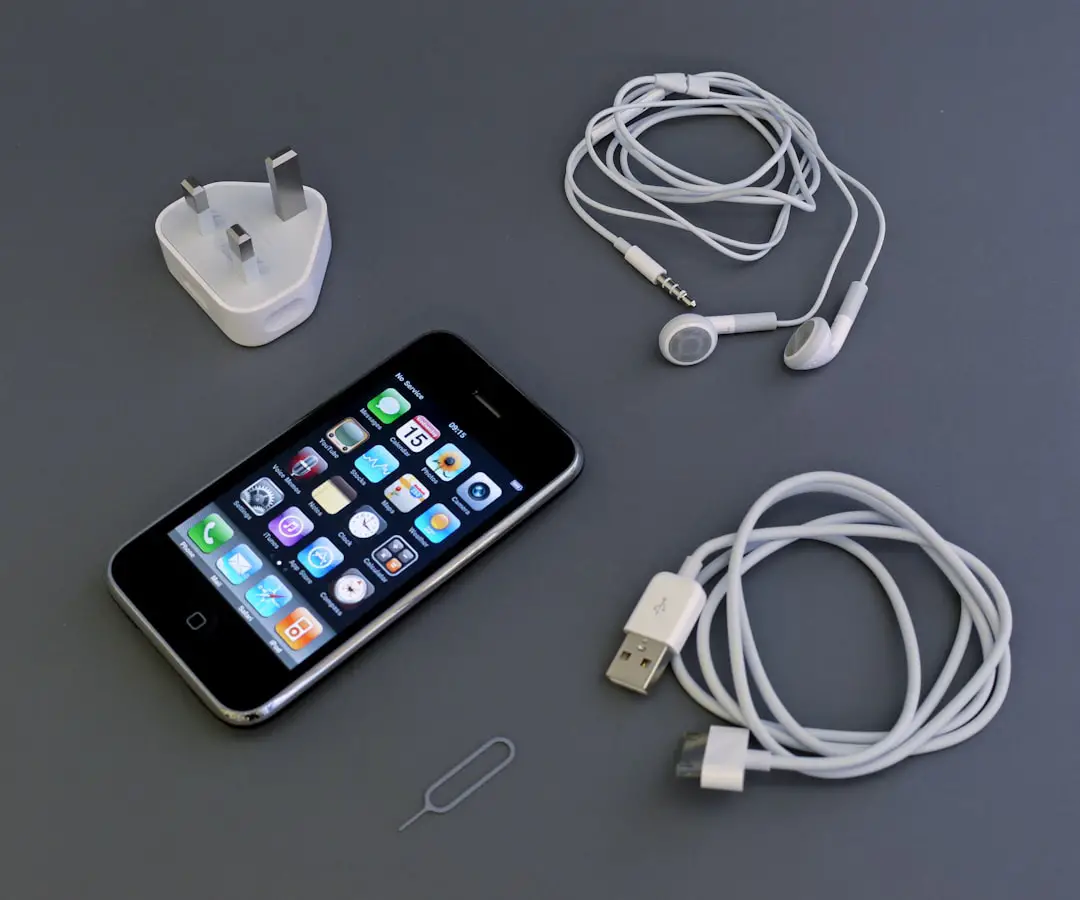
Using a USB Cable to Transfer Photos
One of the most direct and reliable methods for transferring photos from an Android device to a computer is through a USB cable. This method is particularly advantageous because it does not require an internet connection, making it accessible in various situations. To initiate this process, users need a compatible USB cable that connects their Android device to the computer.
Once connected, the phone typically prompts the user to select a connection type; choosing “File Transfer” or “MTP” (Media Transfer Protocol) is essential for accessing files. After selecting the appropriate mode, the computer should recognize the Android device as an external drive. Users can navigate through their file explorer to locate the device, usually listed under “This PC” or “My Computer.” From there, users can access the DCIM folder, which houses all the photos taken with the device’s camera.
By simply dragging and dropping or copying and pasting these files into a designated folder on the computer, users can efficiently transfer their images. This method is not only fast but also allows for bulk transfers, making it ideal for those with large photo libraries.
Transferring Photos via Cloud Storage Services
Cloud storage services have revolutionized how we store and share data, including photos. Platforms like Google Drive, Dropbox, and OneDrive offer seamless solutions for transferring images from an Android device to a computer. The process begins by uploading photos from the Android device to the chosen cloud service.
Most Android devices come pre-installed with Google Drive, making it a convenient option for many users. To upload photos, users can open the app, select the images they wish to transfer, and tap on the upload button. Once the photos are uploaded to the cloud, accessing them from a computer is straightforward.
Users simply need to log into their cloud account through a web browser or desktop application. From there, they can download the images directly to their computer. This method not only facilitates easy transfers but also provides an additional layer of backup for important photos.
Moreover, cloud services often allow users to share links to specific files or folders, making it easy to collaborate or share memories with others.
Using Email to Transfer Photos
| Metrics | Results |
|---|---|
| Emails Sent | 500 |
| Emails Received | 480 |
| Success Rate | 96% |
| Average File Size | 2.5 MB |
| Transfer Speed | 10 Mbps |
Email remains a viable option for transferring photos from an Android device to a computer, especially for users who may not have access to other methods. This approach is particularly useful for sending a small number of images rather than entire albums. To use this method, users can open their preferred email application on their Android device and compose a new message.
By attaching photos directly from the gallery or file manager, users can send them to their own email address or that of another recipient. Once the email is sent, accessing it from a computer is simple. Users can log into their email account through a web browser or email client and locate the message containing the attached photos.
Downloading these attachments is usually just a click away. However, it’s important to note that most email services impose size limits on attachments—typically around 25 MB—so this method is best suited for smaller batches of images. For larger transfers, users may need to consider alternative methods.
Transferring Photos with a File Transfer App
In addition to traditional methods, various file transfer applications have emerged that facilitate photo transfers between Android devices and computers. Apps like AirDroid, Pushbullet, and SHAREit offer innovative solutions that leverage Wi-Fi connections for fast and efficient transfers. To use these applications, both the Android device and computer must have the app installed or be connected through a web interface.
For instance, with AirDroid, users can connect their Android device to their computer via Wi-Fi and access files directly through a web browser interface. This allows for easy drag-and-drop functionality similar to using a USB cable but without the need for physical connections. Users can select multiple photos at once and transfer them quickly over their local network.
This method is particularly beneficial in situations where users may not have access to a USB cable or prefer wireless solutions.
Wireless Transfer Methods for Photos

Bluetooth Transfer
Bluetooth is a well-known technology that allows devices to communicate wirelessly over short distances. To transfer photos via Bluetooth, users must first enable Bluetooth on both their Android device and computer. After pairing the two devices, users can select the desired photos in their gallery app and choose the Bluetooth option to send them.
Wi-Fi Direct Transfer
Wi-Fi Direct offers another wireless solution that allows devices to connect directly without needing an intermediary network. This method is often faster than Bluetooth and can handle larger file sizes more efficiently. Users can enable Wi-Fi Direct on both devices and initiate a connection through their settings menu.
Transferring Photos
Once connected, transferring photos becomes as simple as selecting them in the gallery app and choosing Wi-Fi Direct as the sharing method.
Organizing and Managing Transferred Photos on the Computer
Once photos are successfully transferred from an Android device to a computer, organizing and managing them becomes crucial for easy access in the future. A well-structured photo library not only enhances user experience but also simplifies tasks such as editing or sharing images later on. Users should consider creating folders based on events, dates, or themes—such as vacations, family gatherings, or holidays—to categorize their images effectively.
Additionally, utilizing software tools like Adobe Lightroom or Windows Photos can further enhance photo management capabilities. These applications allow users to edit images directly after transfer while also providing options for tagging and adding metadata. Tagging photos with keywords makes searching for specific images much easier down the line.
Regularly backing up organized photo libraries onto external hard drives or cloud storage ensures that precious memories are preserved against data loss.
Conclusion and Final Tips for Transferring Photos from Android to Computer
Transferring photos from an Android device to a computer can be accomplished through various methods tailored to different user needs and preferences. Whether opting for traditional USB connections or embracing modern cloud services and wireless technologies, each method has its unique advantages that cater to specific scenarios. Users should assess their requirements—such as volume of photos, available resources, and personal comfort with technology—to choose the most suitable approach.
In addition to selecting a transfer method, maintaining an organized photo library post-transfer is essential for long-term management of digital memories. Regular backups and thoughtful categorization will ensure that users can easily access their cherished moments whenever needed. By following these guidelines and exploring different transfer options, users can streamline their photo management process while preserving their most treasured memories in an accessible format.
If you are looking for a detailed guide on how to transfer photos from your Android phone to your computer, you may want to check out this article on AppsSoftwares. This article provides step-by-step instructions on how to easily transfer your photos using various methods such as USB cable, cloud storage, or third-party apps. It also offers tips on organizing and managing your photo library on both your phone and computer.
FAQs
What are the different methods to transfer photos from an Android phone to a computer?
There are several methods to transfer photos from an Android phone to a computer, including using a USB cable, using a cloud storage service, using a file transfer app, or using email.
How to transfer photos using a USB cable?
To transfer photos using a USB cable, connect your Android phone to the computer using a USB cable. Then, select the option to transfer files on your phone and access the photos on your computer.
How to transfer photos using a cloud storage service?
To transfer photos using a cloud storage service, upload the photos from your Android phone to a cloud storage service such as Google Drive or Dropbox, and then access the photos from your computer by logging into the same cloud storage account.
How to transfer photos using a file transfer app?
To transfer photos using a file transfer app, download and install a file transfer app such as AirDroid or Send Anywhere on your Android phone, and then follow the app’s instructions to transfer the photos to your computer.
How to transfer photos using email?
To transfer photos using email, select the photos you want to transfer on your Android phone, and then email them to yourself. Access the email on your computer and download the photos from the email attachment.