Capturing an eclipse, whether solar or lunar, is a thrilling endeavor that draws photographers and enthusiasts alike into a world of celestial wonder. However, it is crucial to understand the inherent risks associated with photographing solar eclipses, particularly when it comes to protecting your eyes and your equipment. Looking directly at the sun without proper protection can lead to serious eye damage, including solar retinopathy, which can occur in mere seconds.
This condition results from the intense light overwhelming the retina, leading to permanent vision loss. Therefore, anyone planning to photograph a solar eclipse must prioritize eye safety by using certified eclipse glasses or solar viewers that meet the ISO 12312-2 international safety standard. In addition to eye safety, there are risks to consider regarding your camera equipment.
Standard camera lenses are not designed to handle the intense light of the sun, which can cause irreversible damage to the sensor and internal components. Even brief exposure can lead to burnt pixels or a completely fried sensor. Photographers must use appropriate solar filters that fit securely over their lenses to mitigate this risk.
These filters reduce the sun’s brightness and allow for safe imaging without damaging the camera. Understanding these risks is essential for anyone looking to capture the beauty of an eclipse while ensuring their safety and the longevity of their equipment.
Key Takeaways
- Understanding the Risks
- Never look directly at the sun during an eclipse without proper eye protection.
- Use solar viewing glasses or a solar filter on your camera to protect your eyes and equipment.
- Be aware of the potential for damage to your camera’s sensor if not using proper filters.
- Tips for Capturing the Eclipse
- Plan your location and timing in advance to ensure the best vantage point.
- Use a tripod to keep your camera steady and reduce motion blur.
- Experiment with different compositions and angles to capture unique eclipse photos.
- Using Filters and Accessories
- Invest in a solar filter for your camera lens to capture the eclipse safely and effectively.
- Consider using a telephoto lens or a telescope with a camera adapter for close-up shots.
- Use a remote shutter release or the camera’s self-timer to minimize camera shake.
- Settings and Techniques for iPhone Photography
- Use the “burst mode” feature on your iPhone to capture multiple images quickly.
- Adjust the exposure and focus manually by tapping on the screen to ensure optimal results.
- Consider using third-party camera apps for more advanced control over settings.
- Editing and Enhancing Eclipse Photos
- Use photo editing software to adjust the exposure, contrast, and color balance of your eclipse photos.
- Experiment with different filters and effects to enhance the dramatic nature of the eclipse.
- Consider creating a composite image to showcase the various stages of the eclipse.
- Sharing Your Eclipse Recording
- Share your eclipse photos and videos on social media to engage with others who experienced the event.
- Consider creating a time-lapse video of the eclipse using your recorded footage.
- Submit your best eclipse photos to photography contests or publications for recognition.
Tips for Capturing the Eclipse
Choosing the Perfect Location
Urban environments with tall buildings or dense trees can hinder visibility, so scouting a location well in advance is advisable. Ideally, you want a spot that allows for a clear line of sight toward the horizon where the eclipse will occur.
Weather and Timing Considerations
Consider the weather conditions; cloudy skies can obscure your view entirely, so checking forecasts and having a backup location in mind can save you from disappointment. Timing is another critical factor in capturing an eclipse. Eclipses occur at specific times, and being prepared with your camera settings and equipment ready before the event begins is essential.
Preparing for the Eclipse Phases
Arriving early allows you to set up your gear and test your settings without the pressure of the moment. It’s also beneficial to familiarize yourself with the phases of the eclipse—whether it’s a partial, total, or annular eclipse—so you can anticipate the best moments to capture. For instance, during a total solar eclipse, there is a brief period of totality when the sun is completely obscured by the moon, creating a unique opportunity for stunning photographs of the corona.
Using Filters and Accessories
The use of filters and accessories is paramount when photographing a solar eclipse. Solar filters are specifically designed to reduce sunlight intensity and protect both your eyes and your camera’s sensor. These filters come in various forms, including screw-on filters for lenses and solar film that can be cut to fit any size lens.
It’s essential to ensure that any filter you use is specifically rated for solar photography; using regular neutral density filters or polarizers is not sufficient and can lead to damage. In addition to solar filters, other accessories can enhance your eclipse photography experience. A sturdy tripod is invaluable for stabilizing your camera during long exposures or when using telephoto lenses.
The vibrations from hand-holding a camera can lead to blurry images, especially in low-light conditions during an eclipse. Remote shutter releases are also beneficial as they allow you to take photos without physically touching the camera, further reducing the risk of camera shake. Additionally, consider using a lens hood to minimize lens flare from any stray sunlight that may enter your frame.
Settings and Techniques for iPhone Photography
| Technique | Definition |
|---|---|
| Rule of Thirds | A composition technique where the image is divided into nine equal segments with two vertical and two horizontal lines, and important compositional elements are placed along these lines or their intersections. |
| Leading Lines | Using natural lines in a scene to draw the viewer’s eye to the main subject or focal point of the image. |
| Golden Hour | The period shortly after sunrise or before sunset when the light is softer and warmer, creating a more pleasing and dramatic effect in photographs. |
| Exposure Compensation | Adjusting the exposure of an image to make it brighter or darker than the camera’s automatic exposure would normally produce. |
| HDR (High Dynamic Range) | A technique that combines multiple exposures of the same scene to create an image with a greater dynamic range of luminosity, resulting in more detail in both the shadows and highlights. |
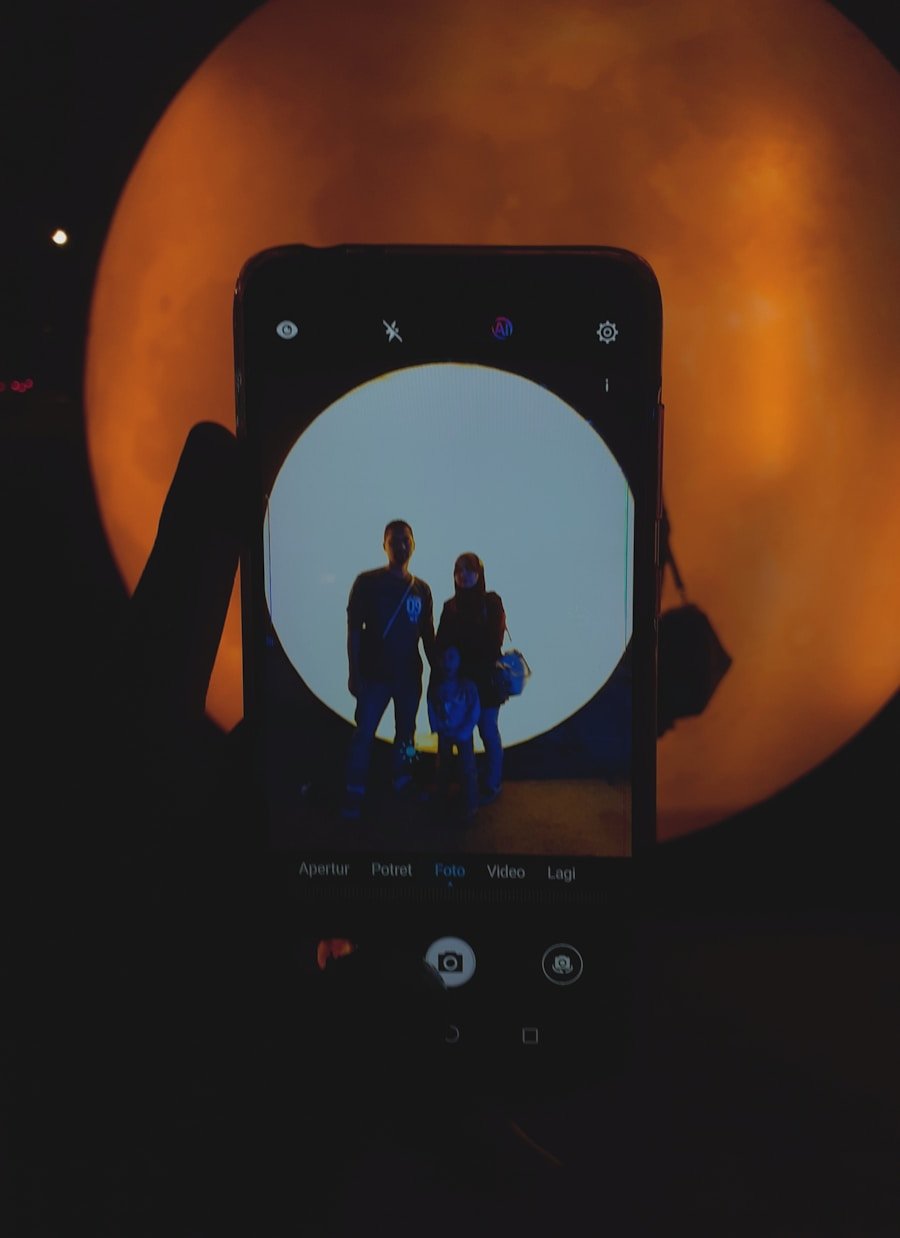
Capturing an eclipse with an iPhone presents unique challenges and opportunities. While smartphones may not offer the same level of control as traditional cameras, they are equipped with advanced technology that can yield impressive results if used correctly. One of the first steps is to ensure that your iPhone’s software is up-to-date, as updates often include enhancements to camera performance and features.
When it comes to settings, utilizing manual controls available through third-party apps can significantly improve your results. Apps like ProCamera or Halide allow users to adjust exposure settings manually, which is crucial during an eclipse when lighting conditions change rapidly. Start by setting your ISO as low as possible to reduce noise in your images; typically, an ISO of 100 or 200 works well in bright conditions.
Adjusting shutter speed is equally important; during the peak of an eclipse, you may need faster shutter speeds (1/1000s or faster) to prevent overexposure while capturing details of the sun. Another technique involves using HDR (High Dynamic Range) settings on your iPhone. This feature captures multiple exposures and combines them into one image, which can be particularly useful during an eclipse when there are stark contrasts between bright sunlight and darker surroundings.
However, be cautious with HDR settings during totality; it may not capture the full range of light effectively if there are rapid changes in brightness.
Editing and Enhancing Eclipse Photos
Post-processing plays a vital role in enhancing eclipse photographs taken with any camera, including smartphones like the iPhone. After capturing your images, using editing software such as Adobe Lightroom or mobile apps like Snapseed can help bring out details that may not be immediately visible in the raw images. Start by adjusting exposure levels; often, images taken during an eclipse may appear too dark or too bright due to rapid changes in lighting conditions.
Color correction is another essential aspect of editing eclipse photos. The colors of the sky and surrounding landscape can shift dramatically during an eclipse, so adjusting white balance can help restore natural hues. Additionally, increasing contrast can enhance details in both the sun and surrounding elements, making your images more striking.
For those who enjoy creative editing, consider applying filters or effects that emphasize the celestial theme—such as adding starry backgrounds or enhancing colors—to create a more artistic representation of the event. Cropping is also an important editing technique that can help focus attention on specific elements within your photograph. If you captured wide shots that include unnecessary distractions in the frame, cropping can help isolate the sun or moon as the focal point of your image.
However, be mindful of maintaining image quality; excessive cropping can lead to pixelation or loss of detail.
Sharing Your Eclipse Recording
Reaching a Broader Audience through Social Media
Once you’ve captured and edited your photographs, the excitement of sharing them with others begins. Social media platforms like Instagram, Facebook, and Twitter provide excellent avenues for showcasing your work and connecting with fellow astronomy enthusiasts. When sharing on these platforms, consider using relevant hashtags such as #Eclipse2023 or #SolarEclipsePhotography to reach a broader audience interested in similar content.
Enhancing Engagement through Storytelling and Interaction
Creating a dedicated album or post series can also enhance engagement with your audience. By sharing not only your best images but also behind-the-scenes shots or stories about your experience capturing the eclipse, you invite viewers into your journey and foster a deeper connection with them. Engaging with comments and questions from followers can further enrich this experience; many people are eager to learn about photography techniques or share their own experiences related to eclipses.
Traditional Methods of Sharing and Community Engagement
For those who prefer more traditional methods of sharing, consider creating a photo book or printed portfolio showcasing your best eclipse images. This tangible format allows you to present your work in a curated manner and can serve as a beautiful keepsake for years to come. Additionally, local astronomy clubs or community centers may host events where you can present your photographs and share insights about your experience capturing such a rare celestial event.
If you are wondering if you can record the eclipse with your iPhone, you may also be interested in learning more about the best apps for capturing celestial events. Check out this article for more information on how to enhance your eclipse viewing experience with the help of technology.
FAQs
Can I record the eclipse with my iPhone?
Yes, you can record the eclipse with your iPhone. However, it is important to use a solar filter to protect your phone’s camera and your eyes from the intense light of the sun during the eclipse.
How can I safely record the eclipse with my iPhone?
To safely record the eclipse with your iPhone, you should use a solar filter specifically designed for smartphone cameras. This will protect your phone’s camera and your eyes from the harmful effects of the sun’s intense light.
Can I use the regular camera app on my iPhone to record the eclipse?
Yes, you can use the regular camera app on your iPhone to record the eclipse, but it is important to use a solar filter to protect your phone’s camera and your eyes from the intense light of the sun during the eclipse.
Are there any special settings I should use on my iPhone to record the eclipse?
When recording the eclipse with your iPhone, it is recommended to use the manual exposure and focus settings to ensure that the sun’s image is not overexposed. Additionally, using a solar filter is crucial to protect your phone’s camera and your eyes from the intense light of the sun during the eclipse.