In an era where digital data is paramount, the importance of a reliable backup system cannot be overstated. Windows 11, the latest iteration of Microsoft’s operating system, offers a robust set of tools designed to help users safeguard their data against loss due to hardware failure, accidental deletion, or malware attacks.
The backup process in Windows 11 is designed to be user-friendly while also offering advanced options for those who require more control over their data management. With features such as File History and the ability to create system images, users can choose the method that best suits their needs. Whether you are a casual user with a few important documents or a professional with extensive data requirements, understanding how to effectively utilize Windows 11’s backup capabilities is essential for maintaining data integrity and accessibility.
Key Takeaways
- Windows 11 Backup is a crucial tool for protecting your data from loss or corruption.
- When choosing an external hard drive for backup, consider factors like storage capacity, speed, and portability.
- Setting up the external hard drive involves connecting it to your computer and formatting it if necessary.
- Configuring Windows 11 Backup settings allows you to choose what data to back up and how often to do so.
- Initiating the backup process is as simple as clicking a few buttons, but it’s important to monitor the progress.
Choosing the Right External Hard Drive
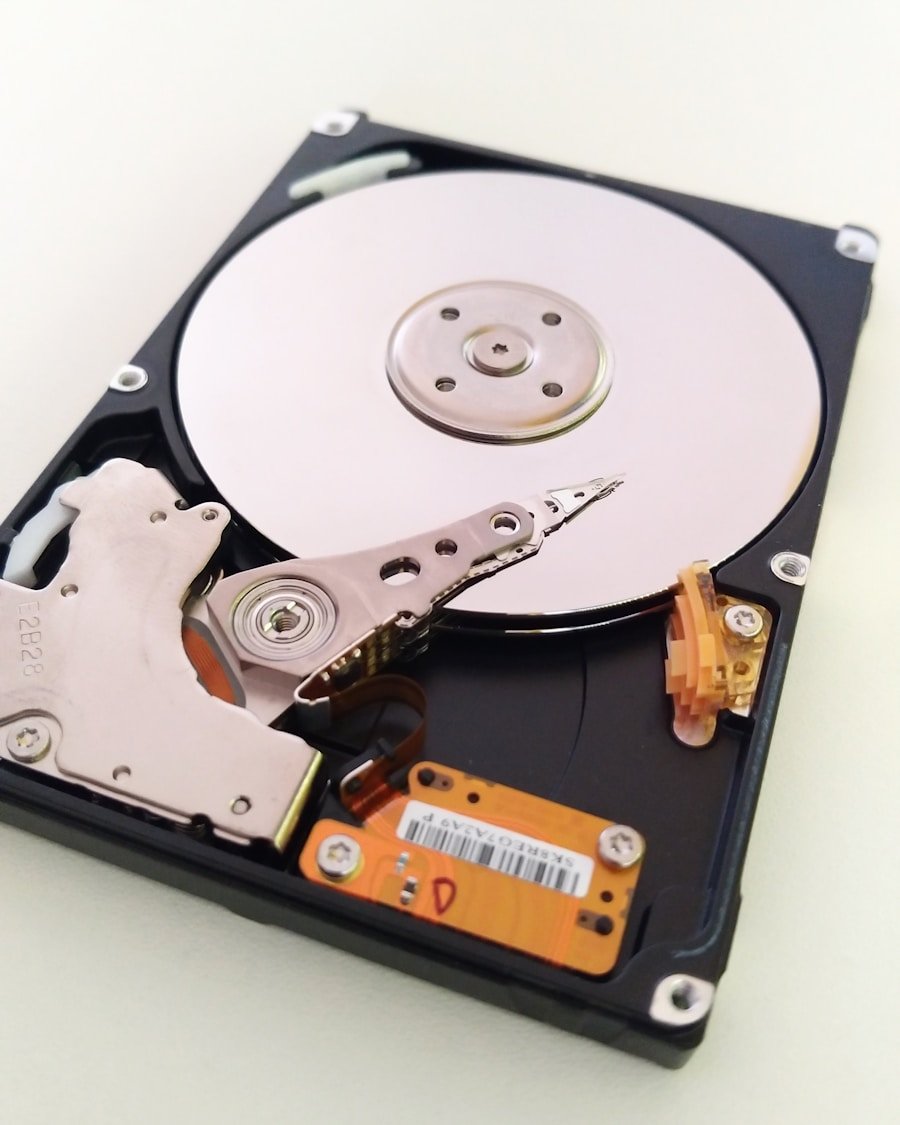
Selecting the appropriate external hard drive is a critical step in establishing a reliable backup system. The market offers a plethora of options, ranging from portable drives to larger desktop models, each with its own set of features and specifications. When choosing an external hard drive for backup purposes, several factors should be considered, including storage capacity, speed, durability, and connectivity options.
Storage capacity is perhaps the most significant consideration. Users should assess their current data usage and anticipate future needs. For instance, if you are backing up a single laptop with a few hundred gigabytes of data, a 1TB drive may suffice.
However, for users with extensive media libraries or multiple devices, opting for a larger capacity drive—such as 4TB or more—can provide the necessary space without the need for frequent upgrades. Additionally, speed is another crucial factor; drives that utilize USB 3.0 or Thunderbolt connections can significantly reduce backup times compared to older USB 2.0 models. Durability is also an essential aspect to consider, especially for users who plan to transport their external hard drives frequently.
Some drives are designed with rugged features that protect against drops and environmental factors, making them ideal for on-the-go use. Furthermore, it’s wise to consider the brand reputation and warranty offered by manufacturers, as these can provide insights into the reliability and longevity of the device.
Setting Up the External Hard Drive

Once you have selected the right external hard drive, the next step is to set it up for use with Windows 11. This process typically begins with connecting the drive to your computer via a USB port. Upon connection, Windows 11 should automatically recognize the device and prompt you with options for formatting if it is a new drive.
Formatting is essential as it prepares the drive for use by creating a file system that Windows can read. To format the drive, navigate to “This PC” in File Explorer, right-click on the external hard drive icon, and select “Format.” You will be presented with options such as file system type (NTFS is recommended for larger files and better security), allocation unit size, and volume label. After selecting your preferences, click “Start” to initiate the formatting process.
It’s important to note that formatting will erase any existing data on the drive, so ensure that it is empty or that you have backed up any necessary files beforehand. After formatting, it’s advisable to create a dedicated folder structure on the external hard drive for your backups. Organizing your backups into folders based on categories—such as documents, photos, and system images—can streamline the restoration process in case of data loss.
This organization not only aids in easy retrieval but also helps in managing space effectively on the drive. Link to be added: NTFS file system
Configuring Windows 11 Backup Settings
| Backup Setting | Configuration |
|---|---|
| Backup Frequency | Every Sunday at 2:00 AM |
| Backup Location | External hard drive (E:) |
| Backup Size | Approximately 50 GB |
| Retention Policy | Keep backups for 30 days |
With your external hard drive set up and ready for use, the next step involves configuring the backup settings within Windows 11. The operating system provides several built-in tools for this purpose, including File History and Backup and Restore (Windows 7). To access these features, navigate to “Settings,” then select “Update & Security,” followed by “Backup.” Here, you will find options to set up your backup preferences.
File History is one of the most user-friendly options available in Windows 11. It allows users to automatically back up files stored in specific folders such as Documents, Pictures, and Desktop at regular intervals. To enable File History, click on “Add a drive” and select your external hard drive from the list.
Once selected, you can customize how often backups occur—ranging from every hour to daily—and how long previous versions of files are kept. For users who require more comprehensive backup solutions, the Backup and Restore (Windows 7) feature allows for full system backups and restoration capabilities. This tool can create a complete image of your system, including installed programs and settings.
To configure this option, select “Go to Backup and Restore (Windows 7)” from the Backup settings menu. From there, you can choose “Set up backup” and follow the prompts to select your external hard drive as the destination for your backups.
Initiating the Backup Process
Once you have configured your backup settings in Windows 11, initiating the backup process is straightforward. If you are using File History, backups will occur automatically based on the schedule you set during configuration. However, if you wish to perform an immediate backup or if you are using Backup and Restore (Windows 7), you can manually start the process.
To initiate an immediate backup using File History, return to the Backup settings menu and click on “More options.” Here you will find an option labeled “Back up now.” Clicking this will trigger an immediate backup of your selected folders to your external hard drive. This feature is particularly useful if you have made significant changes to your files since the last scheduled backup. For users utilizing Backup and Restore (Windows 7), after selecting “Set up backup,” follow the prompts until you reach the summary page where you can review your settings.
Once confirmed, click on “Save settings and run backup.” The process may take some time depending on the amount of data being backed up; during this time, it’s advisable not to interrupt the process or disconnect the external hard drive.
Verifying and Restoring Backed Up Data

After completing a backup in Windows 11, it’s crucial to verify that your data has been successfully backed up and is accessible when needed. To do this with File History, navigate back to the Backup settings menu and click on “More options.” From there, select “Restore files from a current backup.” This will open a window displaying all backed-up files organized by date. You can browse through these files to ensure that everything you intended to back up is present.
This flexibility allows users to recover only what they need without having to restore an entire backup. In cases where a complete system restoration is necessary—such as after a hardware failure or severe malware infection—using Backup and Restore (Windows 7) becomes essential.
To restore from a system image backup, access Control Panel and navigate to “Backup and Restore (Windows 7).” Click on “Recover system settings or your computer,” then select “Advanced recovery methods.” From here, you can choose “Use a system image you created earlier to recover your computer.” Follow the prompts to restore your system image from your external hard drive. By understanding these processes—from selecting an appropriate external hard drive to configuring settings and verifying backups—users can ensure that their data remains safe and recoverable in any situation. The integration of these features within Windows 11 makes it easier than ever for individuals and businesses alike to maintain their digital assets securely.
If you are looking for more information on how to backup Windows 11 to an external hard drive, you may want to check out this article on AppsSoftwares. They provide detailed guides and tips on how to effectively backup your data on Windows 11. Additionally, you can also visit their contact page for any specific questions or concerns you may have. And don’t forget to review their privacy policy to ensure your data is protected while using their resources.
FAQs
What is Windows 11 backup?
Windows 11 backup is a process of creating a copy of your important files, settings, and system data to protect against data loss in case of hardware failure, system crashes, or other unforeseen events.
Why should I backup Windows 11 to an external hard drive?
Backing up Windows 11 to an external hard drive provides an additional layer of protection for your data. It ensures that your files and system data are safe and easily accessible in case of a computer failure or data loss.
How do I backup Windows 11 to an external hard drive?
To backup Windows 11 to an external hard drive, you can use the built-in backup and restore feature in Windows 11. You can also use third-party backup software that offers more advanced features and customization options.
What are the benefits of backing up Windows 11 to an external hard drive?
Backing up Windows 11 to an external hard drive offers benefits such as data protection, easy recovery in case of system failure, and the ability to transfer data to a new computer or device.
What type of external hard drive is best for backing up Windows 11?
The best type of external hard drive for backing up Windows 11 is a reliable and high-capacity drive with fast transfer speeds. It is recommended to use a USB 3.0 or USB-C external hard drive for faster data transfer.
How often should I backup Windows 11 to an external hard drive?
It is recommended to backup Windows 11 to an external hard drive regularly, such as weekly or monthly, depending on how frequently you create or modify important files and data on your computer.
