
Solid State Drives (SSDs) have revolutionized the way we store and access data, offering significant advantages over traditional Hard Disk Drives (HDDs). Unlike HDDs, which rely on spinning disks and mechanical arms to read and write data, SSDs utilize flash memory technology. This fundamental difference allows SSDs to achieve much faster data access speeds, resulting in quicker boot times, reduced application load times, and overall improved system responsiveness.
For instance, while an HDD might take several seconds to boot an operating system, an SSD can often do so in mere seconds or even fractions of a second. The benefits of SSDs extend beyond speed. They are also more durable and reliable than their mechanical counterparts.
Since SSDs have no moving parts, they are less susceptible to physical damage from drops or shocks. This makes them an ideal choice for portable devices like laptops and tablets. Additionally, SSDs consume less power, which can lead to longer battery life in mobile devices.
The thermal output of SSDs is also lower, contributing to a cooler operating environment for your computer. Furthermore, with advancements in technology, SSDs have become more affordable, making them accessible to a broader range of consumers.
Key Takeaways
- SSDs (Solid State Drives) offer faster performance, improved reliability, and lower power consumption compared to traditional hard drives.
- Before formatting your SSD, back up all important data to prevent data loss.
- Windows 11 provides a built-in tool for formatting SSDs, making the process quick and easy.
- Regularly check for errors and optimize your SSD using Windows 11’s built-in tools to ensure peak performance.
- When transferring data to your newly formatted SSD, consider using a cloning tool for a seamless transition.
- To maintain your formatted SSD, avoid filling it to capacity, enable TRIM support, and keep your operating system and drivers up to date.
Preparing Your SSD for Formatting
Backup Your Important Data
Before formatting your SSD, it is essential to safeguard any files you may need later. Formatting a drive erases all existing data, so back up any important data stored on the SSD. You can use cloud storage solutions or external hard drives for this purpose. Once your data is backed up, you can proceed with the next steps.
Ensure Proper Connection and Firmware Updates
Another important aspect of preparation is ensuring that your SSD is properly connected to your computer. If you are installing a new SSD, make sure it is securely mounted in the drive bay and connected via the appropriate interface, such as SATA or NVMe. If you are formatting an existing SSD that has been previously used, it may be beneficial to check for any firmware updates from the manufacturer. Keeping the firmware up to date can enhance performance and reliability.
Optimize Formatting with Manufacturer’s Tools
Additionally, consider using a tool provided by the SSD manufacturer for optimal formatting options tailored specifically for their drives. This can help ensure that your SSD operates optimally after formatting.
Formatting Your SSD using Windows 11
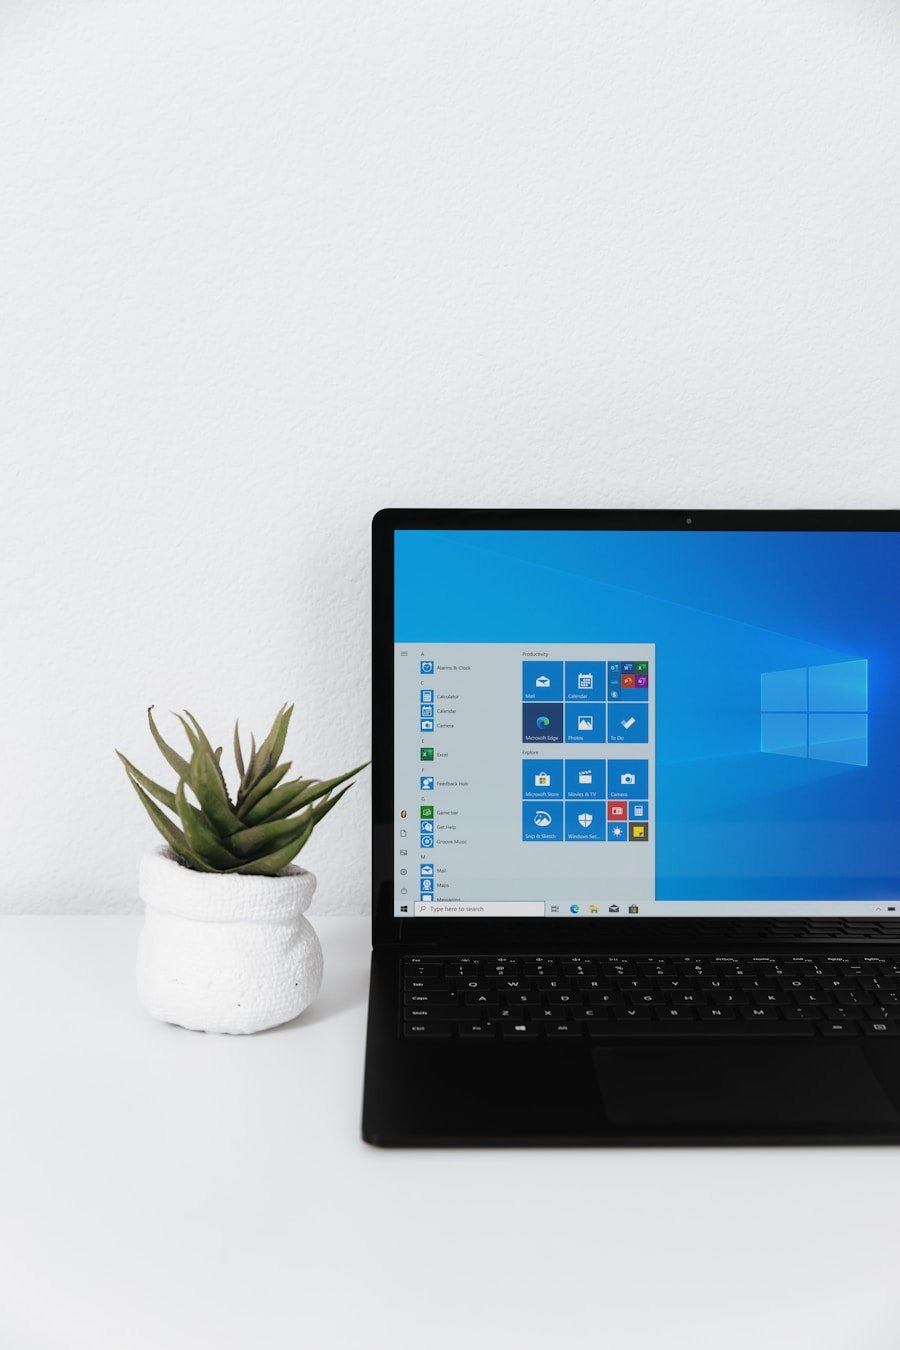
Formatting an SSD in Windows 11 is a straightforward process that can be accomplished through the built-in Disk Management tool or via the Command Prompt. To begin, access the Disk Management utility by right-clicking on the Start button and selecting “Disk Management.” In this interface, you will see a list of all connected drives. Locate your SSD in the list; it may be labeled as “Unallocated” if it is new or “Healthy” if it has been used previously.
Once you have identified your SSD, right-click on it and select “Format.” A dialog box will appear, prompting you to choose a file system. For most users, NTFS is the recommended file system due to its support for larger files and better security features. You can also choose to enable Quick Format, which speeds up the process by skipping the scanning of sectors for errors.
After confirming your selections, click “OK” to initiate the formatting process. Depending on the size of your SSD and whether you opted for a full format or quick format, this process may take anywhere from a few seconds to several minutes. The relevant word to link is “NTFS”. Here is the link to the relevant source: NTFS
Checking for Errors and Optimizing Your SSD
| SSD Model | Read Speed (MB/s) | Write Speed (MB/s) | Error Rate (%) |
|---|---|---|---|
| Samsung 970 EVO | 3500 | 2500 | 0.1 |
| Crucial MX500 | 560 | 510 | 0.2 |
| WD Blue 3D NAND | 560 | 530 | 0.3 |
After formatting your SSD, it is prudent to check for any potential errors that could affect its performance. Windows 11 provides built-in tools that can help you assess the health of your drive. One such tool is the Check Disk utility (CHKDSK), which scans the drive for file system errors and bad sectors.
To use this tool, open Command Prompt as an administrator and type “chkdsk X: /f,” replacing “X” with the letter assigned to your SSD. This command will initiate a scan and attempt to fix any detected issues. In addition to error checking, optimizing your SSD is essential for maintaining its performance over time.
Windows 11 automatically handles many optimization tasks, such as TRIM commands that inform the SSD which blocks of data are no longer in use and can be wiped internally. However, you can also manually optimize your drive by accessing the “Optimize Drives” utility found in the Start menu. This tool allows you to defragment and optimize your drives; while traditional defragmentation is not necessary for SSDs, running optimization can help maintain performance levels.
Transferring Data to Your Newly Formatted SSD
Once your SSD is formatted and optimized, you may want to transfer data back onto it or migrate applications from another drive. The process of transferring data can be done in several ways depending on your needs. If you have backed up your files previously, you can simply copy and paste them from your backup location back onto the SSD.
For users looking to migrate entire applications or operating systems, third-party cloning software can be beneficial. Programs like Macrium Reflect or EaseUS Todo Backup allow you to create an exact copy of your existing drive onto your newly formatted SSD.
These tools often come with user-friendly interfaces that guide you through the cloning process step by step. After cloning, ensure that your system recognizes the SSD as the primary boot device in BIOS settings if you are migrating an operating system.
Tips for Maintaining Your Formatted SSD

Maintaining your formatted SSD is crucial for ensuring its longevity and optimal performance over time. One of the most important practices is to avoid filling the drive to its maximum capacity. SSDs perform best when they have some free space available; a good rule of thumb is to keep at least 10-20% of the drive empty.
Another key maintenance tip involves regularly updating your operating system and any software related to your SSD. Manufacturers often release firmware updates that can improve performance or fix bugs; keeping your firmware up-to-date ensures that you benefit from these enhancements.
Additionally, consider using power-saving features when possible, as excessive write cycles can wear out an SSD over time. By following these practices—backing up data regularly, monitoring drive health with diagnostic tools, and managing storage effectively—you can significantly extend the lifespan of your formatted SSD while enjoying its many benefits.
If you’re looking for more information on how to format an SSD on Windows 11, you may want to check out this article on how to optimize your SSD for better performance. This article provides additional tips and tricks for maximizing the efficiency of your SSD on Windows 11.
FAQs
What is SSD?
SSD stands for Solid State Drive, which is a type of storage device that uses integrated circuit assemblies to store data persistently.
Why would I want to format my SSD in Windows 11?
Formatting an SSD in Windows 11 can be necessary when you want to erase all the data on the drive, remove viruses or malware, or prepare the SSD for a new operating system installation.
How do I format my SSD in Windows 11?
To format your SSD in Windows 11, you can use the Disk Management tool. Simply right-click on the Start button, select “Disk Management,” locate your SSD, right-click on it, and choose “Format.” Follow the on-screen instructions to complete the formatting process.
What are the precautions to take before formatting an SSD in Windows 11?
Before formatting your SSD in Windows 11, it’s important to back up any important data on the drive, as formatting will erase all the data. Additionally, ensure that you have selected the correct drive to format to avoid accidental data loss.
Can I format my SSD using a third-party software in Windows 11?
Yes, there are third-party software options available for formatting an SSD in Windows 11, such as EaseUS Partition Master, MiniTool Partition Wizard, and AOMEI Partition Assistant. These tools offer additional features and flexibility for formatting and managing SSDs.