A clean install of Windows 11 can be a transformative experience for your computer, offering a fresh start that can significantly enhance performance and stability. Over time, operating systems accumulate a variety of files, settings, and applications that can lead to sluggishness and inefficiency. This is particularly true if you have upgraded from an older version of Windows, as remnants of previous installations can linger and create conflicts.
A clean install eliminates these issues by removing all existing data and settings, allowing the new operating system to run in an optimized environment. This process not only clears out unnecessary clutter but also ensures that you are starting with the latest features and security updates that Windows 11 has to offer. Moreover, a clean installation can resolve persistent problems that may have plagued your system for some time.
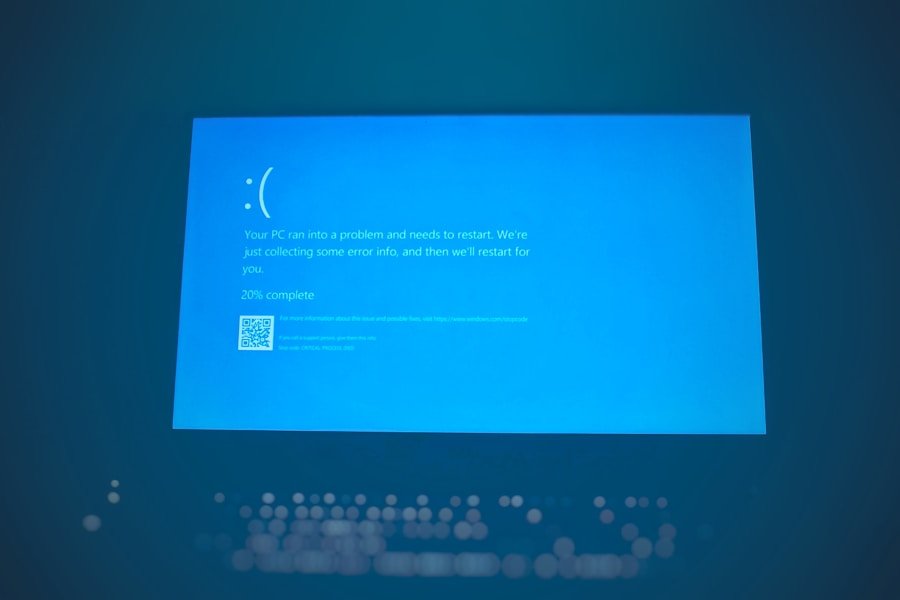
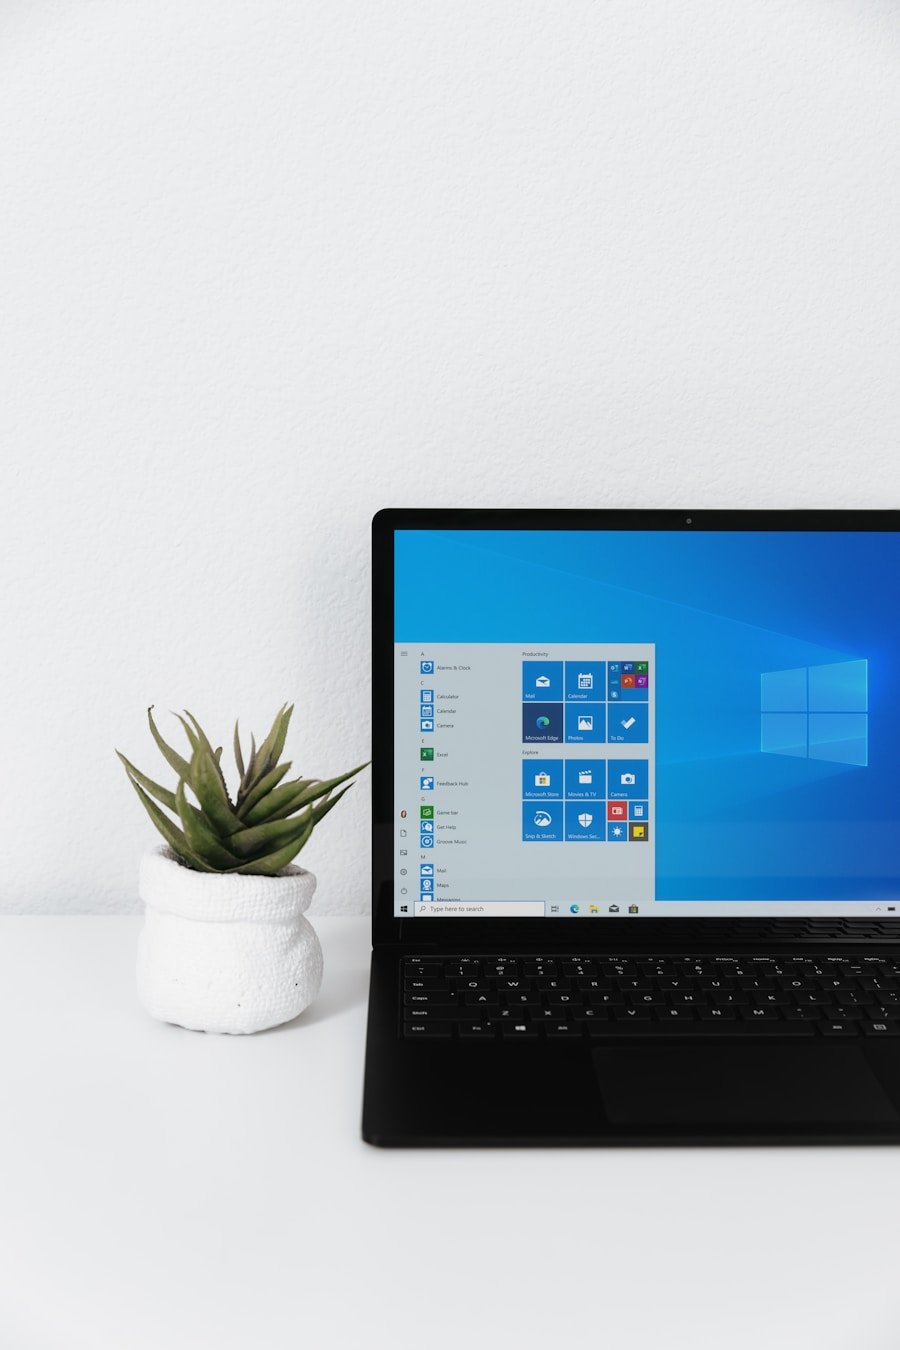
Issues such as frequent crashes, slow boot times, and software incompatibilities can often be traced back to a corrupted operating system or conflicting applications. By performing a clean install, you effectively reset your system to its factory state, which can lead to improved reliability and performance. Additionally, this method allows you to take full advantage of the new features in Windows 11, such as the redesigned Start menu, enhanced gaming capabilities, and improved virtual desktops, all of which may not function optimally if your system is bogged down by legacy files and settings.
Key Takeaways
- A clean install of Windows 11 is necessary to ensure a fresh start and optimal performance on your computer.
- Backing up your data before a clean install is crucial to prevent data loss and ensure a smooth transition to the new operating system.
- Creating a bootable USB drive for Windows 11 installation is a convenient and reliable method for installing the new OS.
- Following a step-by-step guide to clean install Windows 11 can help you navigate the process with ease and confidence.
- After the installation, be sure to complete post-installation steps and settings to customize and optimize your Windows 11 experience.
Backing Up Your Data Before a Clean Install
Before embarking on the journey of a clean install, it is crucial to back up your data to prevent any loss of important files. The process of wiping your hard drive will erase everything on it, including documents, photos, applications, and system settings. To safeguard your data, consider using multiple backup methods to ensure redundancy.
One effective approach is to utilize cloud storage services such as OneDrive, Google Drive, or Dropbox. These platforms allow you to upload your essential files and access them from any device with an internet connection. Additionally, they often provide version history features that can help you recover previous versions of files if needed.
In addition to cloud storage, external hard drives or USB flash drives are excellent options for creating physical backups. By transferring your important files onto these devices, you can ensure that they remain safe even if something goes awry during the installation process. It is advisable to create a comprehensive list of all the applications you use regularly and their associated data so that you can reinstall them after the clean install.
Furthermore, consider exporting browser bookmarks and saving any necessary license keys or activation codes for software you plan to reinstall later.
Creating a Bootable USB Drive for Windows 11 Installation
Creating a bootable USB drive is an essential step in preparing for a clean install of Windows 11. This process involves downloading the Windows 11 installation media and transferring it onto a USB drive that can be used to boot your computer. To begin, you will need a USB drive with at least 8 GB of storage capacity.
It is important to note that this drive will be formatted during the process, so ensure that any important data on it has been backed up elsewhere. To create the bootable USB drive, Microsoft provides a tool called the Media Creation Tool, which simplifies the process significantly. After downloading the tool from the official Microsoft website, run it and select the option to create installation media for another PC.
You will then choose the language, edition, and architecture (32-bit or 64-bit) for Windows 11. Once these selections are made, opt for the USB flash drive option when prompted about which media to use. The tool will then download the necessary files and create a bootable USB drive that you can use to install Windows 11 on your computer.
Step-by-Step Guide to Clean Install Windows 11
| Steps | Time Required | Difficulty Level |
|---|---|---|
| Backup Data | Varies | Easy |
| Create Bootable USB | 10-15 minutes | Intermediate |
| Access BIOS/UEFI | 5-10 minutes | Intermediate |
| Install Windows 11 | 30-60 minutes | Intermediate |
| Install Drivers | Varies | Intermediate |
| Update Settings | Varies | Easy |
Once you have backed up your data and created a bootable USB drive, you are ready to proceed with the clean installation of Windows 11. Begin by inserting the bootable USB drive into your computer and restarting it. You may need to access your BIOS or UEFI settings by pressing a specific key (often F2, F12, or Delete) during startup to change the boot order so that your computer boots from the USB drive first.
After successfully booting from the USB drive, you will be greeted by the Windows Setup screen. The installation process begins with selecting your language preferences and clicking “Next.” On the subsequent screen, choose “Install Now.” If prompted for a product key, enter it if you have one; otherwise, you can select “I don’t have a product key” to continue with the installation in trial mode. Next, you will be asked to select the version of Windows 11 you wish to install; ensure that it matches your license type.
The next critical step is choosing the installation type; select “Custom: Install Windows only (advanced)” to perform a clean install. At this point, you will see a list of partitions on your hard drive. It is essential to delete all existing partitions associated with your current operating system to ensure a truly clean installation.
Select each partition related to your previous installation and click “Delete.” Be cautious during this step; ensure that you are deleting only those partitions that contain your old operating system. Once all relevant partitions are deleted, select the unallocated space and click “Next” to begin the installation process. Windows 11 will now copy files and install necessary components; this may take some time depending on your hardware specifications.
Post-Installation Steps and Settings
After successfully installing Windows 11, there are several post-installation steps that you should follow to optimize your system’s performance and security. The first step is to go through the initial setup process where you will configure settings such as region, keyboard layout, and network connection. During this phase, you will also have the option to sign in with a Microsoft account or create a local account.
Using a Microsoft account allows for seamless integration with cloud services and synchronization across devices. Once you have completed the initial setup, it is advisable to check for updates immediately. Navigate to Settings > Windows Update and click on “Check for updates.” This ensures that your system is equipped with the latest security patches and feature updates from Microsoft.
Additionally, consider customizing privacy settings according to your preferences by going into Settings > Privacy & security. Here, you can manage permissions for location services, camera access, and other features that may impact your privacy. Another important step is installing essential drivers for your hardware components.
While Windows 11 does come with many drivers pre-installed, it is wise to visit the manufacturer’s website for your graphics card, motherboard, and other peripherals to download the latest drivers directly. This can enhance performance and compatibility with various applications and games.
Troubleshooting Common Issues After a Clean Install
Driver Compatibility Issues
One frequent problem after installing Windows 11 is driver compatibility. Certain hardware components may not function correctly due to outdated or missing drivers. If you notice issues such as poor graphics performance or malfunctioning peripherals, check Device Manager for any devices marked with an exclamation point indicating driver issues. Updating these drivers through Device Manager or directly from manufacturer websites can often resolve these problems.
System Performance Issues
Another common issue is related to system performance; some users may experience slow boot times or lagging applications after installation. This could be due to background processes consuming resources or unnecessary startup programs running at boot time. To address this, open Task Manager by right-clicking on the taskbar and selecting “Task Manager.” Navigate to the “Startup” tab and disable any programs that are not essential for startup. Additionally, consider running Disk Cleanup by searching for it in the Start menu; this tool helps remove temporary files and system cache that may be affecting performance.>
Activation Issues
Lastly, if you encounter activation issues after installing Windows 11, ensure that you are connected to the internet and that your product key is entered correctly during setup.
This tool can help diagnose and resolve common activation issues automatically. By understanding these steps and potential pitfalls associated with a clean install of Windows 11, users can navigate the process more effectively and enjoy a smoother computing experience in their newly installed operating system.
If you are looking for more information on how to clean install Windows 11, you may want to check out this helpful article on appssoftwares.com. This article provides step-by-step instructions on how to perform a clean installation of Windows 11, ensuring that your computer is running smoothly and efficiently. For more tech-related articles and tips, be sure to visit appssoftwares.com.
FAQs
What is a clean install of Windows 11?
A clean install of Windows 11 involves erasing the existing operating system and installing a fresh copy of Windows 11 on the computer.
Why would I want to perform a clean install of Windows 11?
Performing a clean install of Windows 11 can help to resolve issues with the operating system, remove malware or viruses, or simply start fresh with a clean slate.
What do I need to perform a clean install of Windows 11?
To perform a clean install of Windows 11, you will need a Windows 11 installation media (such as a USB drive or DVD) and a valid product key.
How do I create a Windows 11 installation media?
You can create a Windows 11 installation media by downloading the Windows 11 installation tool from the Microsoft website and following the instructions to create a bootable USB drive or DVD.
What are the steps to perform a clean install of Windows 11?
The steps to perform a clean install of Windows 11 include booting from the installation media, following the on-screen prompts to install Windows 11, entering the product key when prompted, and configuring the settings during the installation process.
Will a clean install of Windows 11 delete all my files?
Yes, a clean install of Windows 11 will erase all the files on the computer’s hard drive, so it’s important to back up any important data before proceeding with the installation.