
The Basic Input/Output System, commonly referred to as BIOS, is a critical component of a computer’s architecture. It serves as the intermediary between the operating system and the hardware, facilitating the initial boot process and hardware initialization. When a computer is powered on, the BIOS performs a series of self-tests known as POST (Power-On Self-Test) to ensure that essential hardware components, such as the CPU, RAM, and storage devices, are functioning correctly.
This foundational software is stored on a non-volatile memory chip on the motherboard, allowing it to retain its settings even when the computer is powered off. Beyond its role in booting the system, the BIOS also provides a user interface for configuring hardware settings. Users can access this interface by pressing a specific key during startup, often displayed on the screen as the computer boots.
Within this setup utility, users can adjust various parameters, including boot order, system clock settings, and hardware configurations. The BIOS also plays a crucial role in system security, offering features such as password protection and secure boot options to prevent unauthorized access to the system. Understanding these functions is essential for anyone looking to optimize their computer’s performance or troubleshoot hardware issues.
Key Takeaways
- The BIOS (Basic Input/Output System) is a crucial firmware that initializes and controls hardware during the boot process.
- Before updating the BIOS, ensure that you have a stable power source and backup important data to prevent data loss in case of a failure.
- Updating the BIOS on Windows 11 can be done through the manufacturer’s official website or using a utility provided by the motherboard manufacturer.
- Common BIOS update issues include power failure during the update process, incompatible BIOS update files, and incorrect update procedures.
- After updating the BIOS, verify the update by checking the BIOS version in the system information or using a diagnostic tool provided by the manufacturer.
- Best practices for BIOS maintenance include keeping regular backups, avoiding interruptions during the update process, and only updating the BIOS if necessary for compatibility or security reasons.
Preparing for the Update
Identify Your Current BIOS Version
To start, you need to identify the current version installed on your system. You can do this by entering the BIOS setup during boot-up or by checking system information within Windows. Knowing your current version helps determine whether an update is necessary and ensures that you download the correct firmware from the manufacturer’s website.
Backup Your Data
Once you’ve confirmed the need for an update, it’s crucial to back up your data. Although updating the BIOS is generally safe, there’s always a risk of failure that could lead to data loss or corruption. Creating a full system backup using reliable software ensures that your important files are secure.
Prepare for the Unexpected
Additionally, it’s advisable to create a recovery drive or have a bootable USB drive ready in case something goes awry during the update process. This preparation step can save you from potential headaches and restore your system if needed.
Updating BIOS on Windows 11

Updating the BIOS on a Windows 11 machine involves several steps that require careful execution. First, navigate to your motherboard manufacturer’s website to locate the latest BIOS version available for your specific model. Manufacturers like ASUS, MSI, Gigabyte, and Dell provide detailed instructions and downloadable files for their products.
It is essential to download the correct file; installing an incompatible BIOS can render your motherboard unusable. Once you have downloaded the appropriate BIOS update file, you will typically need to extract it if it comes in a compressed format. Many manufacturers provide an executable file that can be run directly from Windows, simplifying the process significantly.
However, some updates may require you to create a bootable USB drive with the new BIOS file on it. To do this, format a USB drive to FAT32 and copy the BIOS file onto it. After preparing the USB drive, restart your computer and enter the BIOS setup by pressing the designated key during boot-up.
From there, navigate to the BIOS update section—often labeled as “EZ Flash” or “M-Flash”—and follow the prompts to select your USB drive and initiate the update. During this process, it is crucial not to interrupt power to your computer. A power failure during a BIOS update can lead to a corrupted BIOS chip, which may require professional recovery services or even replacement of the motherboard.
Once initiated, the update process will typically take only a few minutes. After completion, your system will reboot automatically. For more information on updating the BIOS, you can visit this link.
Troubleshooting Common Issues
| Common Issue | Frequency | Resolution Time |
|---|---|---|
| Network Connectivity | 30% | 1-2 hours |
| Software Errors | 25% | 2-3 hours |
| Hardware Malfunction | 20% | 3-4 hours |
| Slow Performance | 15% | 2-3 hours |
| Application Crashes | 10% | 1-2 hours |
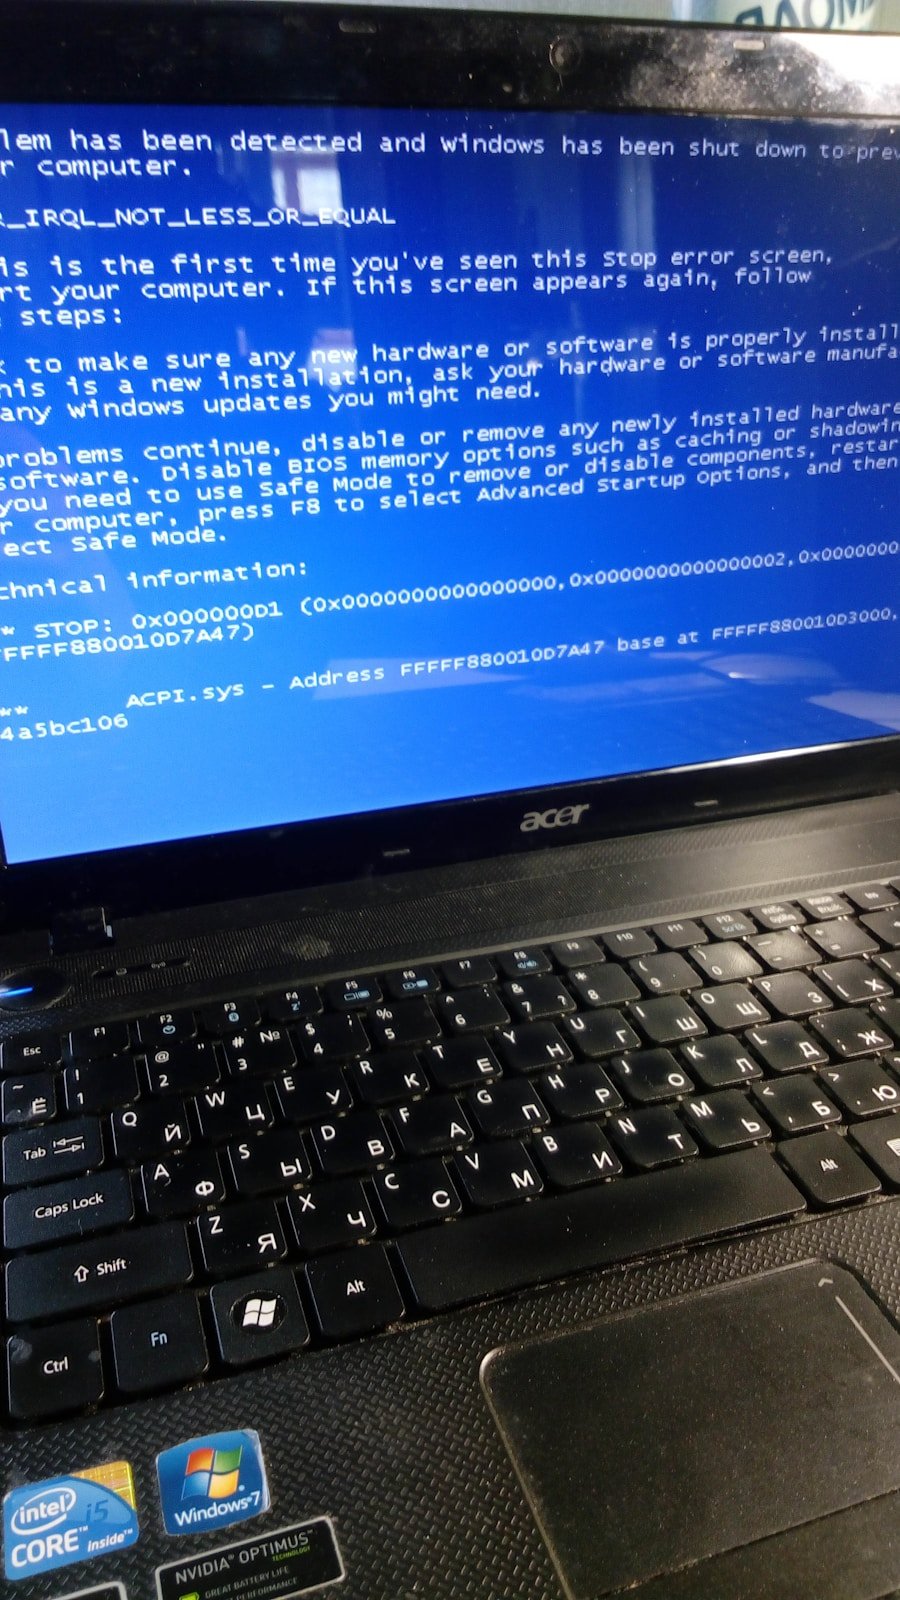
Despite careful preparation and execution, users may encounter issues during or after a BIOS update. One common problem is a failure to boot after an update. This can occur if the new BIOS version is incompatible with existing hardware or if there was an error during installation.
In such cases, users should first attempt to reset the BIOS settings to default by using the jumper method or removing and reinserting the CMOS battery on the motherboard. This action can often restore functionality by reverting any changes made during the update. Another issue that may arise is instability or unexpected behavior in Windows 11 following a BIOS update.
Users might experience random crashes, freezes, or performance degradation. These symptoms could indicate that certain settings within the BIOS need adjustment post-update. For instance, enabling or disabling specific features like virtualization support or adjusting memory timings may resolve these issues.
It’s also advisable to check for any additional driver updates from hardware manufacturers that may be required after updating the BIOS.
Verifying the Update
After successfully updating the BIOS, verifying that the new version has been installed correctly is essential. This verification process can be accomplished by re-entering the BIOS setup during boot-up and checking the version number displayed on the main screen or within system information settings. Confirming that this number matches the version you intended to install ensures that the update was successful.
In addition to checking the version number, it’s prudent to monitor system performance and stability over time following an update. Users should observe how their computer behaves during regular tasks and whether any new issues arise. If everything functions smoothly and performance improves—such as faster boot times or enhanced hardware compatibility—then it’s likely that the update was beneficial.
Conversely, if problems persist or new ones emerge, further troubleshooting may be necessary.
Best Practices for BIOS Maintenance
Maintaining a healthy BIOS environment involves several best practices that can prolong its lifespan and ensure optimal performance. Regularly checking for updates from your motherboard manufacturer is one of these practices. While not every update will be critical, manufacturers often release updates that address security vulnerabilities or improve compatibility with newer hardware components.
Setting reminders to check for updates every few months can help keep your system secure and efficient. Another best practice is to document any changes made within the BIOS setup utility. Keeping a log of adjustments—such as changes in boot order or hardware configurations—can be invaluable if issues arise later on.
This documentation allows users to revert settings easily if necessary and provides insight into what modifications may have led to specific problems. Additionally, users should avoid unnecessary updates unless they are experiencing specific issues that an update addresses. While keeping software up-to-date is generally advisable, indiscriminately updating BIOS versions without clear benefits can introduce instability or compatibility issues with existing hardware configurations.
By following these best practices, users can maintain their BIOS effectively and ensure their systems run smoothly over time.
If you are looking to update your BIOS on Windows 11, you may also be interested in learning more about the terms and conditions and privacy policy of the software you are using. For more information on this topic, you can visit appssoftwares.com/terms-and-conditions and appssoftwares.com/privacy-policy. These articles can provide valuable insights into the legal aspects of updating your BIOS and using software on your computer.
FAQs
What is BIOS?
BIOS stands for Basic Input/Output System, and it is a firmware that is built into the computer’s motherboard. It is responsible for initializing hardware components and starting the operating system when the computer is turned on.
Why should I update BIOS?
Updating the BIOS can provide various benefits such as improved system stability, compatibility with new hardware, enhanced performance, and security fixes. It is recommended to update the BIOS if you are experiencing issues with your computer or if there is a new version available that addresses known issues.
How do I check my current BIOS version?
You can check your current BIOS version by entering the BIOS setup utility during the computer’s startup process. The BIOS version is usually displayed on the main screen or in a specific section dedicated to system information.
Is it safe to update BIOS?
Updating the BIOS carries some risk, as a failed update can potentially render the computer inoperable. However, if the update process is done correctly and the correct BIOS version is used, the risk is minimal. It is important to follow the manufacturer’s instructions carefully and ensure that the computer has a stable power source during the update.
How do I update BIOS in Windows 11?
To update the BIOS in Windows 11, you will need to download the latest BIOS update from the manufacturer’s website and follow their specific instructions for updating the BIOS. This may involve creating a bootable USB drive, running a BIOS update utility, or using a built-in update tool provided by the manufacturer.
Can I update BIOS from within Windows 11?
Some motherboard manufacturers provide a Windows-based utility for updating the BIOS from within the operating system. However, it is generally recommended to update the BIOS using a bootable USB drive or other method provided by the manufacturer, as updating from within Windows carries some risk.